As mentioned last time, I wanted to get all the outstanding brazing work completed before I went back to work in the new year. I'm now back at work but I'm pleased to say that I did manage to find half a day to go and hire the oxyacetylene and get the bits stuck together.
I'd accumulated quite a pile of bits ready for brazing and it was good to get them all attached to each other at last. There are 5 sub assemblies to be brazed:
The new bolts into the cantle plate.
The bolts into the spring carrier
The saddle post clamp
The lever pivot castings to the end of the fork legs.
The individual handlebars into the head and attaching the brake lever pivot.
I only made jigs for the handlebars and the lever pivots, the remaining assemblies being too simple to require holding, this proved to be a mistake as I'll explain later.

The handlebars and brake pivot are held in the correct locations with some very special frame building pins - old nails. unfortunately, I drilled the holes very slightly too large and the pins have a tiny amount of movement, this meant that the individual handlebars could move relative to each other and could end up not being aligned. I solved this by zip tying the bars to a thick sheet of MDF to maintain the alignment.

The lever pivot jig needed to be more complex and accurate, the pivots need to be concentric, parallel and correctly spaced relative to each other. They also need to be parallel to the main bearing housings. I recycled the old jig used to braze up the main bearings and with suitably machined spacers I was able to hold everything securely in the correct locations. I had to be careful brazing these castings as I had already had them nitrided and I didn't want to affect the hardness of the bearing surfaces. My idea was to use a large lump of steel as the spacer, this will double as a heat sink and hopefully prevent the inner races from getting too hot. I also tried a new brand of 45% silver solder this time, this has a lower melting point and should flash in quite quickly. I intended to go in quickly with a hot flame and spend as little time as possible heating the castings.

As always the first job is to thoroughly clean and degrease the surfaces to be brazed and then flux and assemble into the relevant jigs. The actual brazing went really well and the lever pivots are firmly attached and still hard after the heating. I've only cleaned up the handlebars and lever pivots so far, the saddle components have yet to be done.


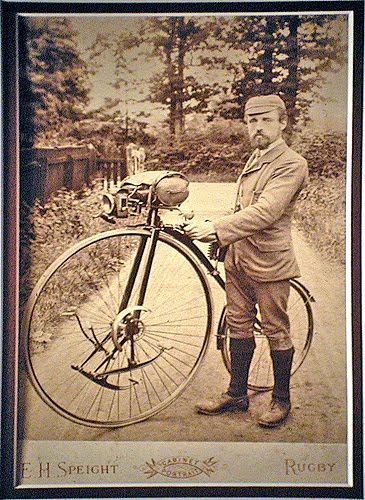
For the first time I can now assemble all of the parts made to date. The sun gear still has a lot of material to be removed and the planet has nothing to attach to yet. The total weight at this point is 33lbs 14oz (~15.4kgs) which is on target as per an original.


It is great to have the basic bike together after all this time. As I mentioned before, I didn't use a jig to hold the saddle post mount and consequently it has come out at the wrong angle. It's only 5 degrees off but it will affect how and where the saddle sits and to my eye it just looks wrong, it not being parallel to the fork legs. You may remember that I wasn't completely happy with it when I machined it up. I'll make another one at some point.
Next week, I'll continue with the saddle.
In other news, we've had a little weather this week. It's been quite varied with snow on the Lindis Pass, very heavy rain on the West Coast that took away a few bridges, a tornado in Ashbuton and very hot Nor'West days like today. It's almost like we've had 4 seasons in one day or something. Hey, somebody should write a song about that.
Lush!I think you could "adjust" The seat post with a length of tube if required.
ReplyDeleteDon't be foolish, Anonymous. This is Mr Knight. A molecule of paint in the wrong place would require the entire bicycle to be stripped, sandblasted, primed, undercoated, overcoated thrice and lacquered, with complete sanding-down between each layer.
ReplyDelete"Adjust". Tsk!